

Well, chop-chop young man we're waiting on the finished product. LOL! Looks really good so far!!

User Tag List
Results 21 to 30 of 36
-
02-01-2017, 07:45 AM #21The Guido Squad

- First Name
- Ciro
- Join Date
- Feb 2016
- Location
- Jersey Shore
- Posts
- 2,010
- Ring Gauge
- 1148
- Post Thanks / Like

- Mentioned
- 638 Post(s)
- Tagged
- 0 Thread(s)
-
Post Thanks / Like - 0 Thanks, 1 Likes
 allusred liked this post
-
02-01-2017, 08:03 AM #22Mr. Noice
- First Name
- Seth
- Join Date
- Feb 2015
- Location
- Gettysburg, Penna
- Posts
- 1,530
- Ring Gauge
- 906
- Post Thanks / Like
- Mentioned
- 202 Post(s)
- Tagged
- 0 Thread(s)
Noice......Well done
Perpetual optimism is a force multiplier.
-
Post Thanks / Like - 0 Thanks, 2 Likes
-
02-01-2017, 09:44 PM #23Cigar-Smoking Scum

- First Name
- Super Secret
- Join Date
- Feb 2015
- Location
- Philadelphia, PA
- Posts
- 854
- Ring Gauge
- 541
- Post Thanks / Like
- Mentioned
- 194 Post(s)
- Tagged
- 0 Thread(s)
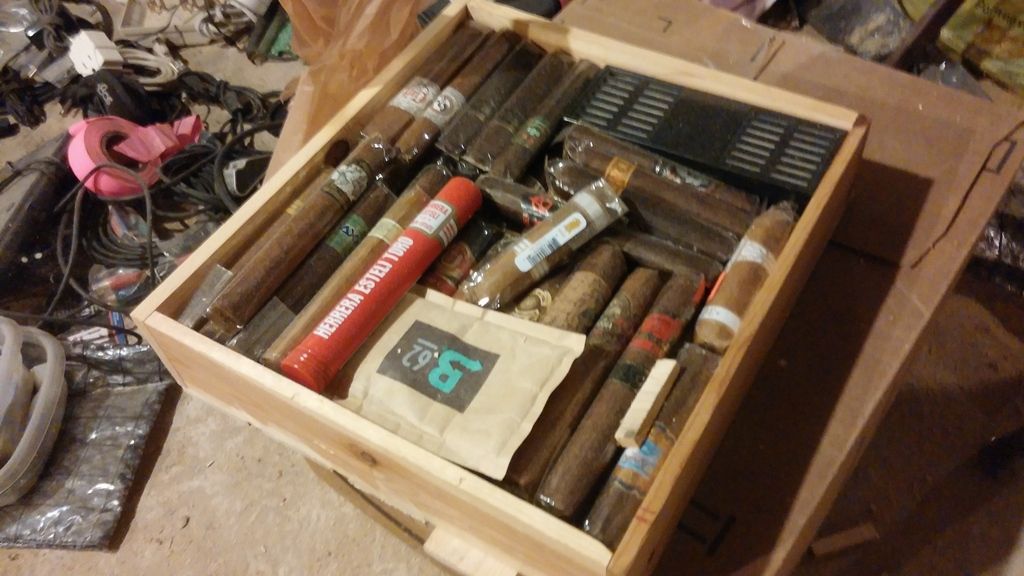
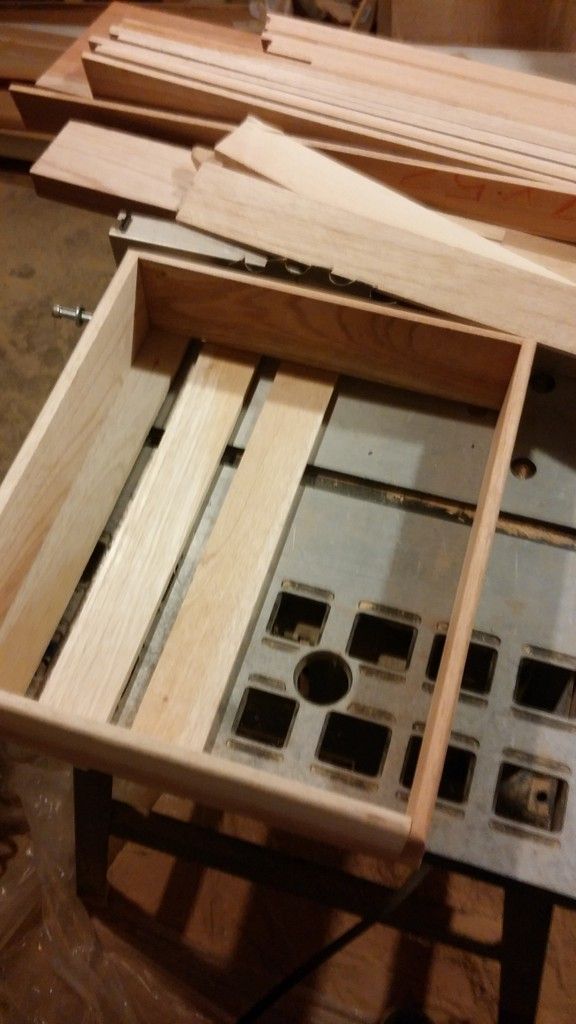
So this is what the mock-drawer looked like full - I decided to add another drawer, making it 8 to my wineador, but cut out 1/2 inch on the depth, to allow for air circulation (which won't really be happening) and also allow room for fronts to go on later should I choose, along with handles.
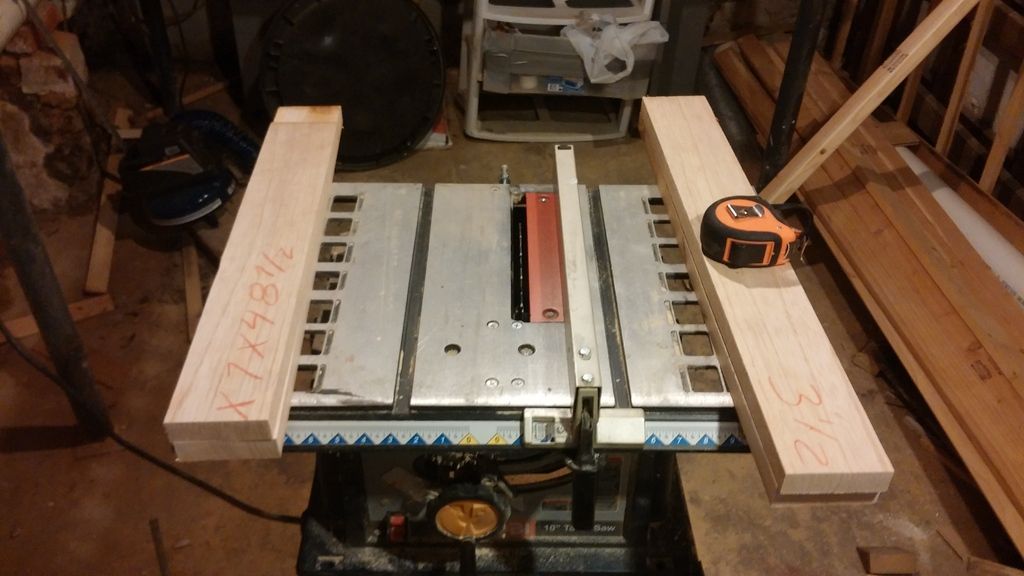
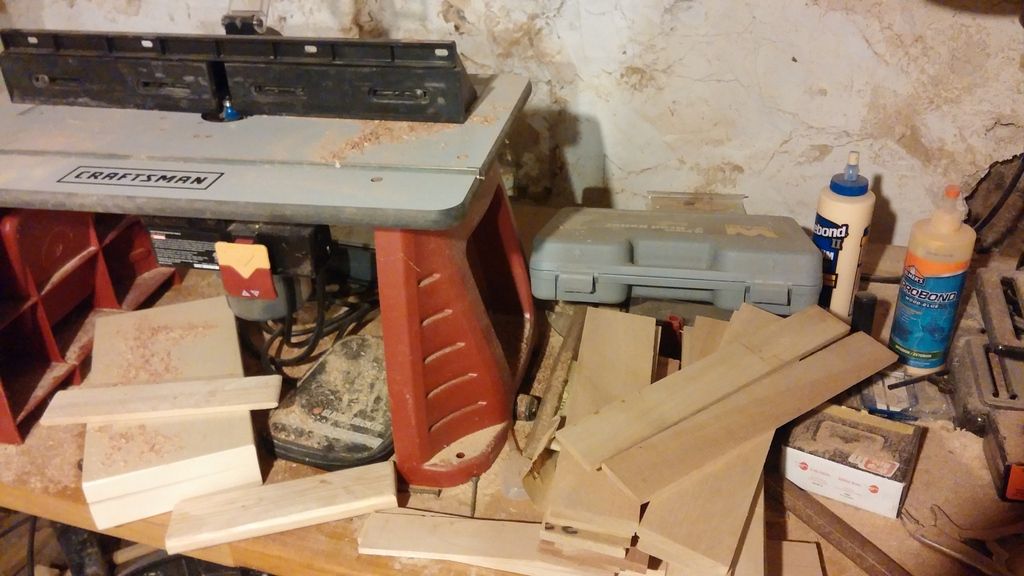
And this is the pile of wood that cost me $50 and a quick detour on the way to visit my mom this weekend. The guy at the place was real nice too. Diamond Teak was the Spanish Cedar supplier, and I picked up 10 Board Feet locally in Sellersville, PA. I only ended up using a little over half of the wood.

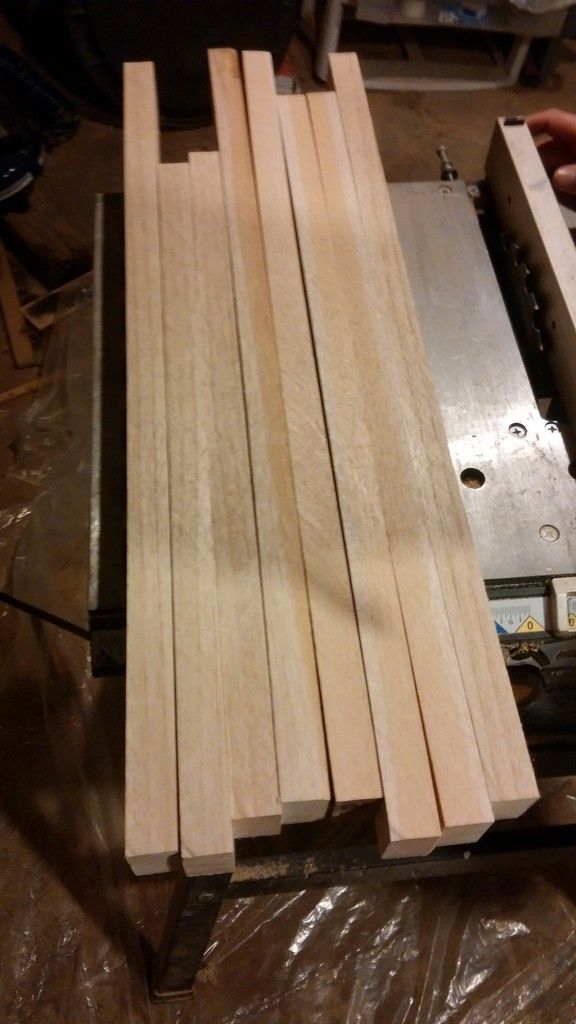
Decided to make the slats for the bottoms first. Ripped the 1 inch thick wood into 3rds for the slat thickness. At this point figured I was making 7 shelves, 5 slats each. 2 Long ones, and 3 shorter. This was because I noticed that the door had to be open 180 degrees to pull the shelves out if they had slats that extended on both sides. So now the first 3 on each drawer only extend on the left, not the right where the door is hinged. The door only needs to be opened 90 degrees now to allow the drawer to come out, and it stops once it reaches the 4th slat, which extends on both sides. Pretty nice, the design is simple and suits me.

Luckily, right after starting to rip the slats, I realized that there would be a LOT of sawdust created here. So we put down some plastic to catch it all! Any suggestions of what I should keep the dust in if I want to hang it in pouches or whatever around my coolers/humis - not sure what would allow the smell to permeate but wouldn't leak dust everywhere. Also, should I spritz it down a bit?
Then after the rips, cut down wood to make the first 4 boxes.
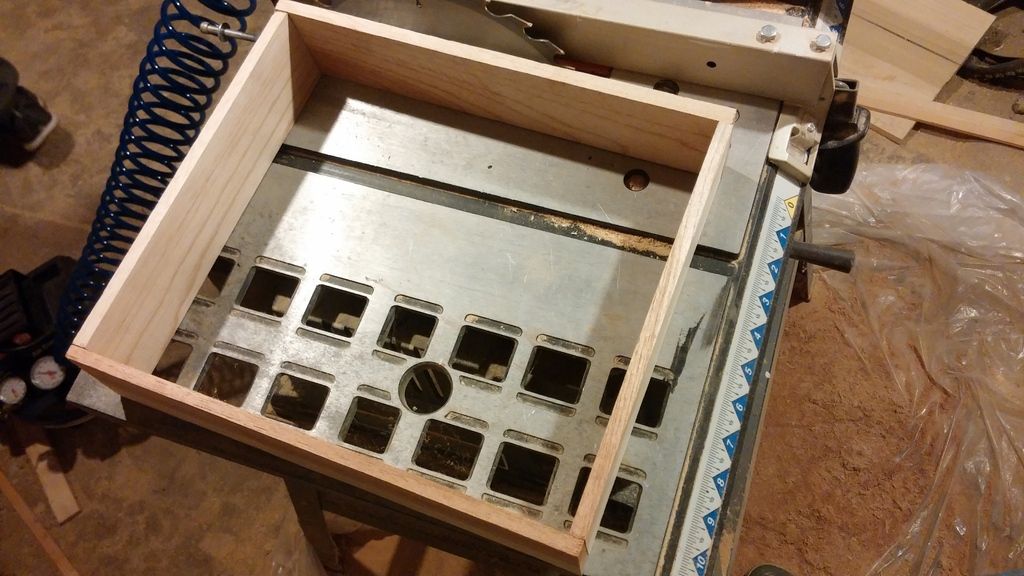
But then Mark mentioned his new table router, and that we could make the boxes a little nicer if we want to bevel the edges. It was a lot better looking!
Starting to put the boxes together:
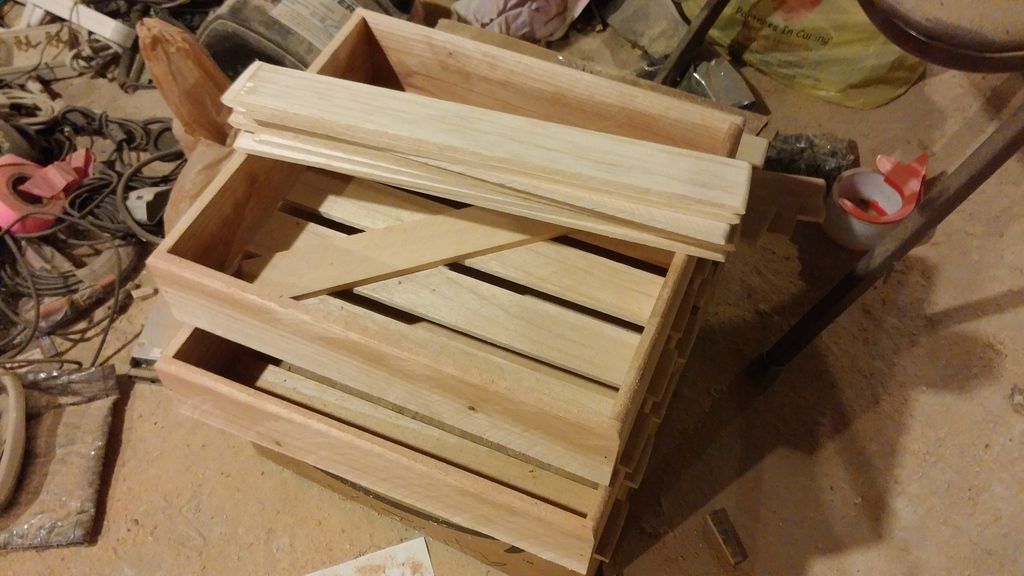
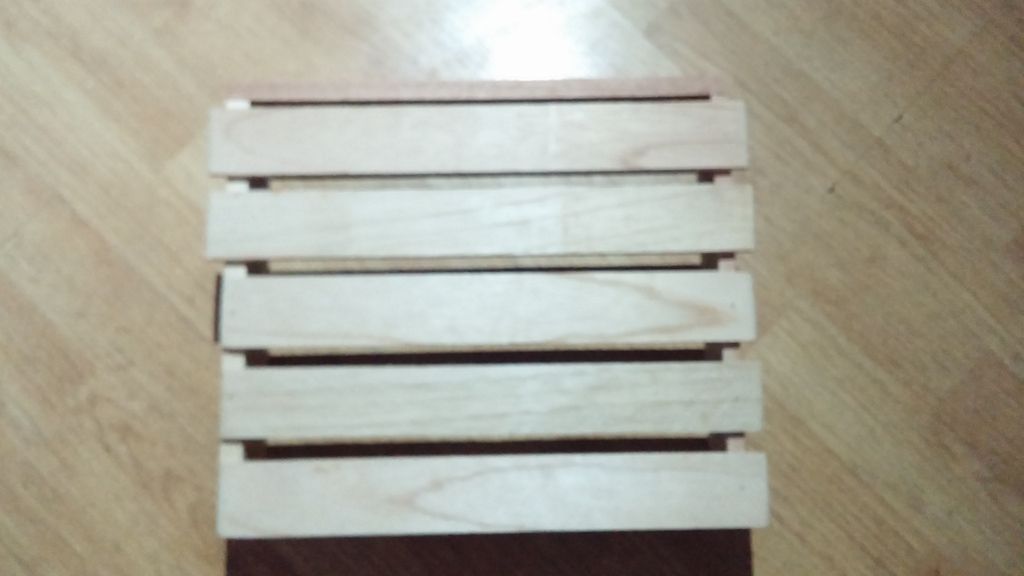
Here's a finished box, top and bottom:
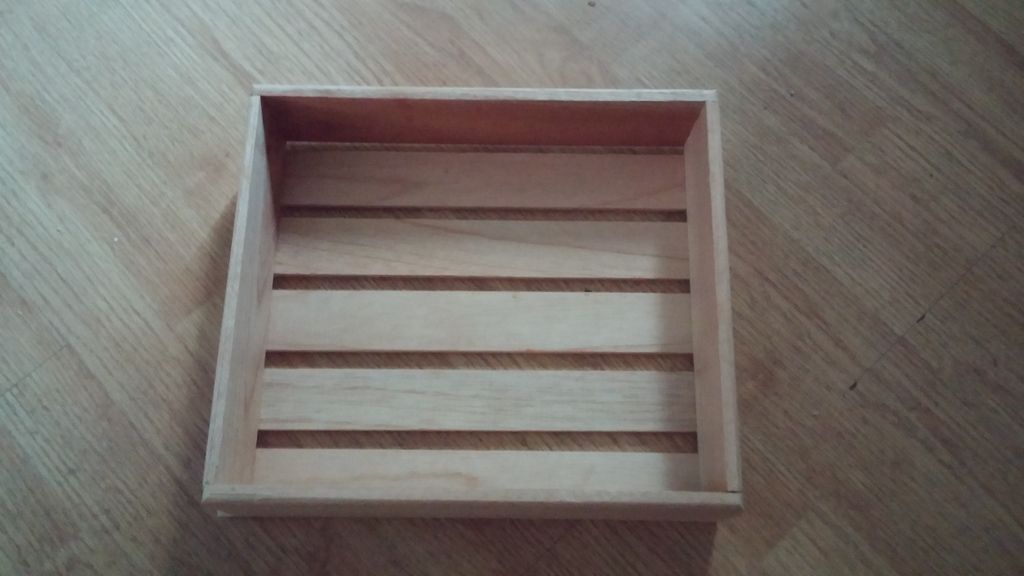
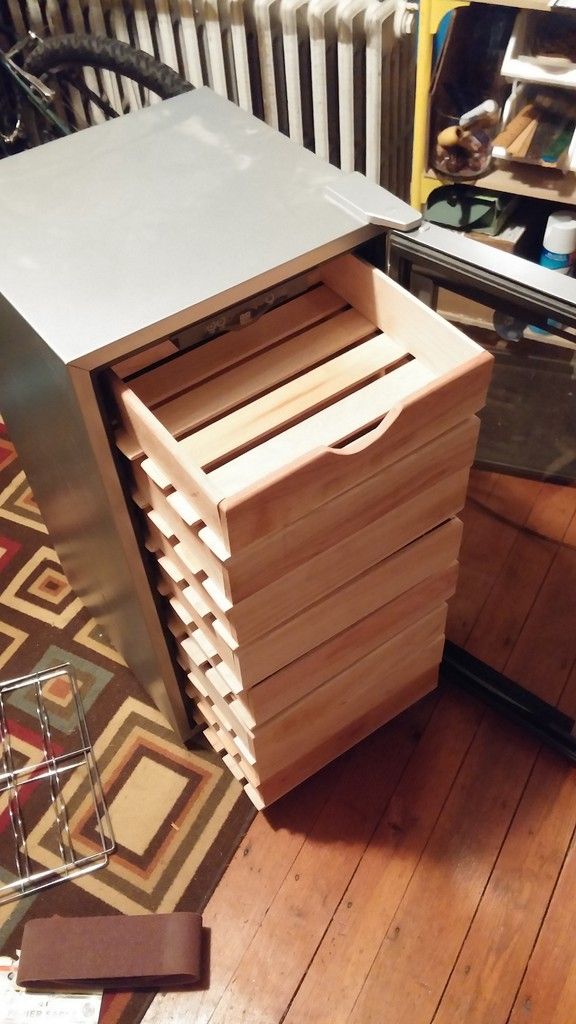
Here's all of them, before I cut the notch for the top drawer to fit in (there's a Temp indicator that drops down from the top a bit)

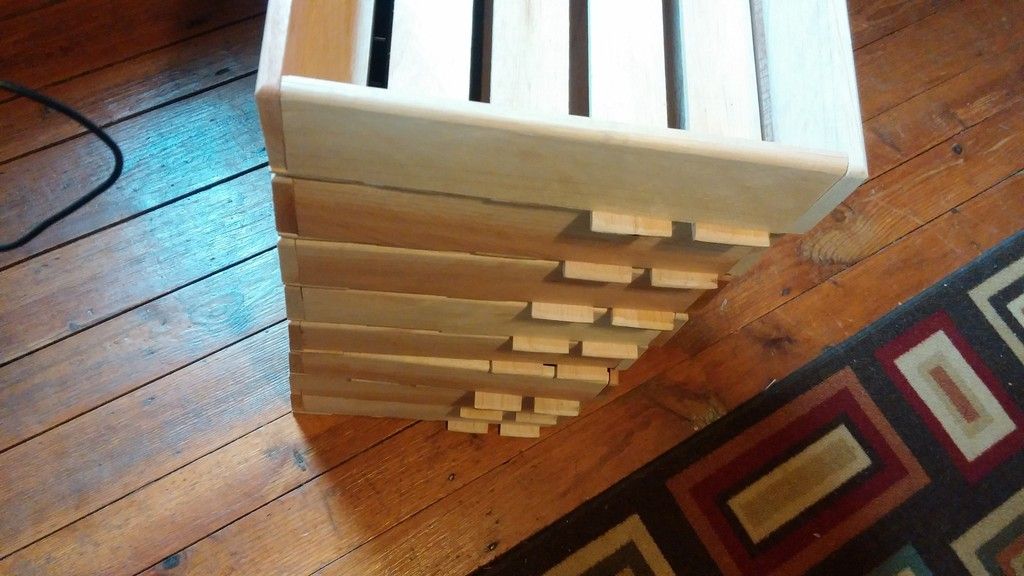
Here's the finished stacks from either side so you can see the slat differences noted earlier:
Left
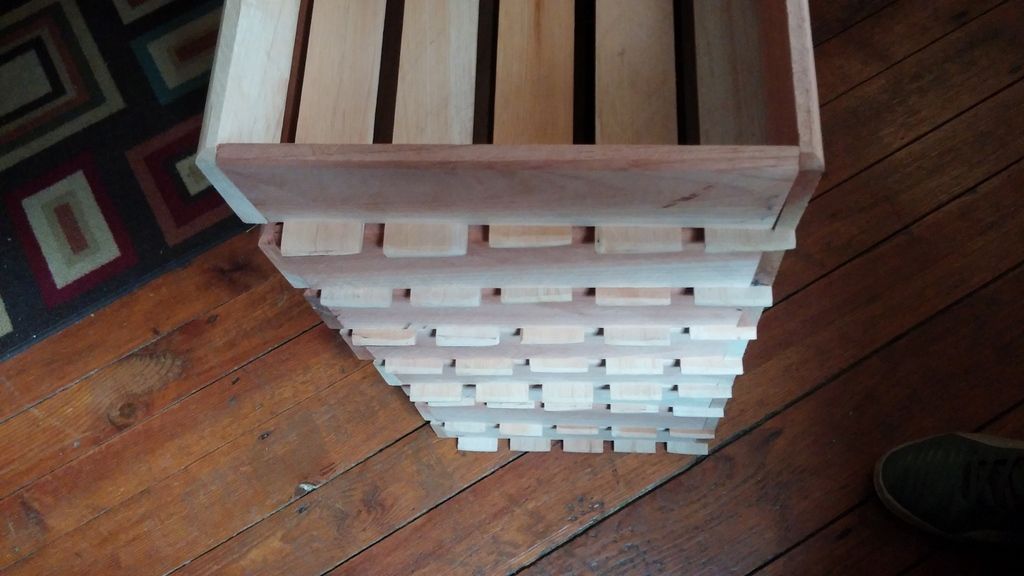
and Right
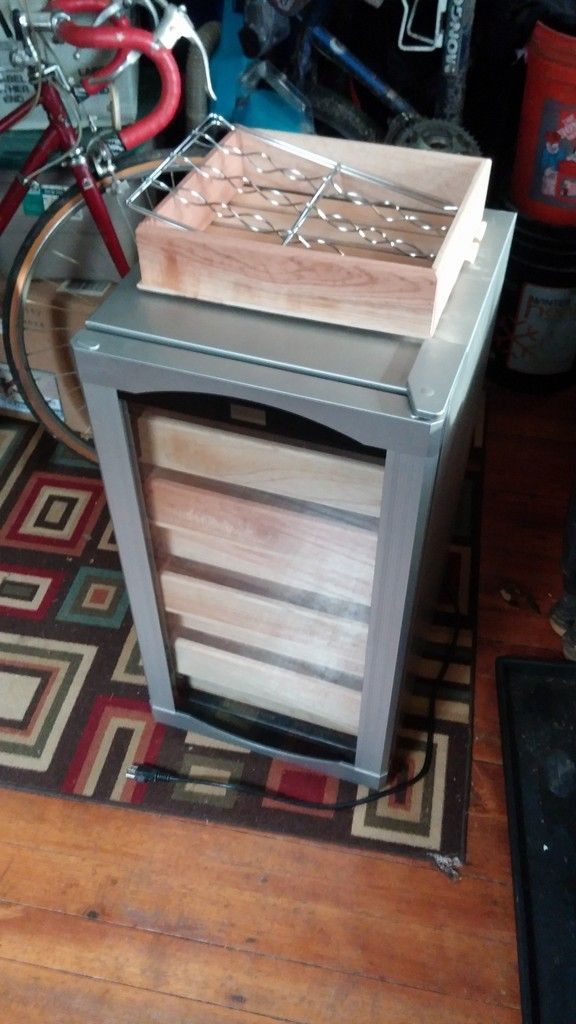
and here we go with all of the drawers finally in! (Top notch cut) You can see here how far they extend out before "catching" on the rear 2 slats. Enough to browse, but not enough to shift weight and fall out or anything. Yay!
I'll add some close-ups as well once the seasoning process is finished, to show a bit more of the work that went into the drawers. They are a very simple design, and are a bit wobbly still until they go into the wineador. Once in, completely stable though. Held together with some really fine nails/staples - we used an airgun for that. The drawers are just nailed together at the frames, and the slats onto the drawers. We thought about reinforcing the tops at angles in the back, but realized we didn't have space to do it above the drawer, and didn't want to sacrifice 'gar room.
NEXT POST- ONWARDS TO SEASONING!!!!!
Also - due to the length/pictures in this post - please don't quote it when replying - makes it a real B to read through the thread, ya know?
-
Post Thanks / Like - 0 Thanks, 7 Likes
-
02-01-2017, 09:51 PM #24Cigar-Smoking Scum
- First Name
- Super Secret
- Join Date
- Feb 2015
- Location
- Philadelphia, PA
- Posts
- 854
- Ring Gauge
- 541
- Post Thanks / Like
- Mentioned
- 194 Post(s)
- Tagged
- 0 Thread(s)
So now for seasoning.... I have no more patience, since I've waited a year to get my act together and buy the wood for this project- so this is my seasoning setup for the last 2 days, lol
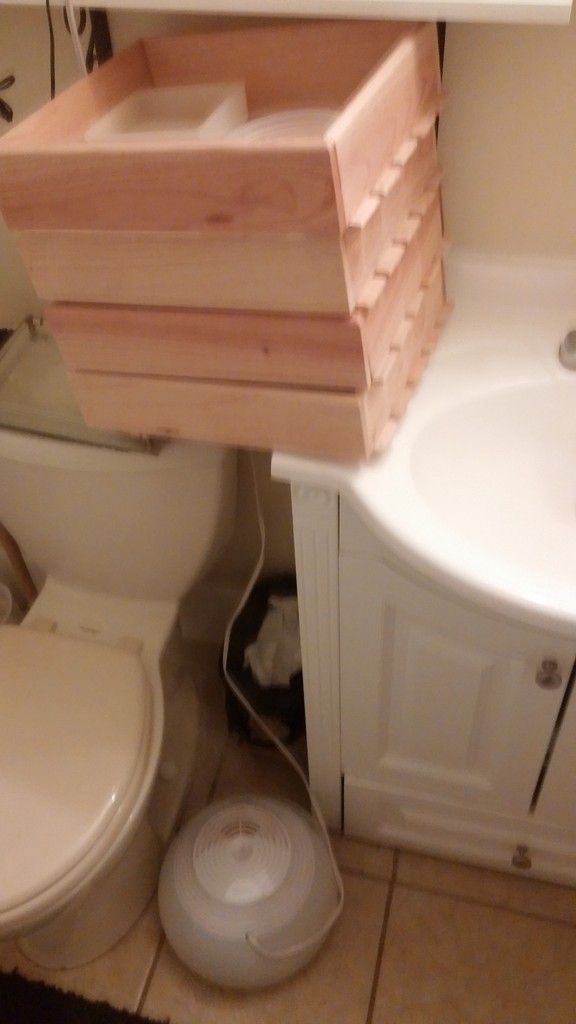
What do you guys think? I have dishes of DW in there, with sponges, but also a humidifier running keeping the bathroom at a nice 98-100% humidity. I was going to ask what your opinions were on this process, my way of "speed-seasoning" without soaking the wood; but I've removed them from this scenario already, and they're holding 75-80% in the wineador all day now. Looks like I'll be adding some dry beads and Bovedas to bring that down a bit before adding cigars into it tomorrow.
SO EXCITED!
-
Post Thanks / Like - 0 Thanks, 6 Likes
-
02-01-2017, 09:57 PM #25Royal Bum
- First Name
- Kris
- Join Date
- Feb 2015
- Location
- Palm Coast, FL
- Posts
- 2,158
- Ring Gauge
- 810
- Post Thanks / Like
- Mentioned
- 153 Post(s)
- Tagged
- 0 Thread(s)
Fantastic work Sean! Very impressive and I'm sure a hell of a lot cheaper than what I paid for my drawers.
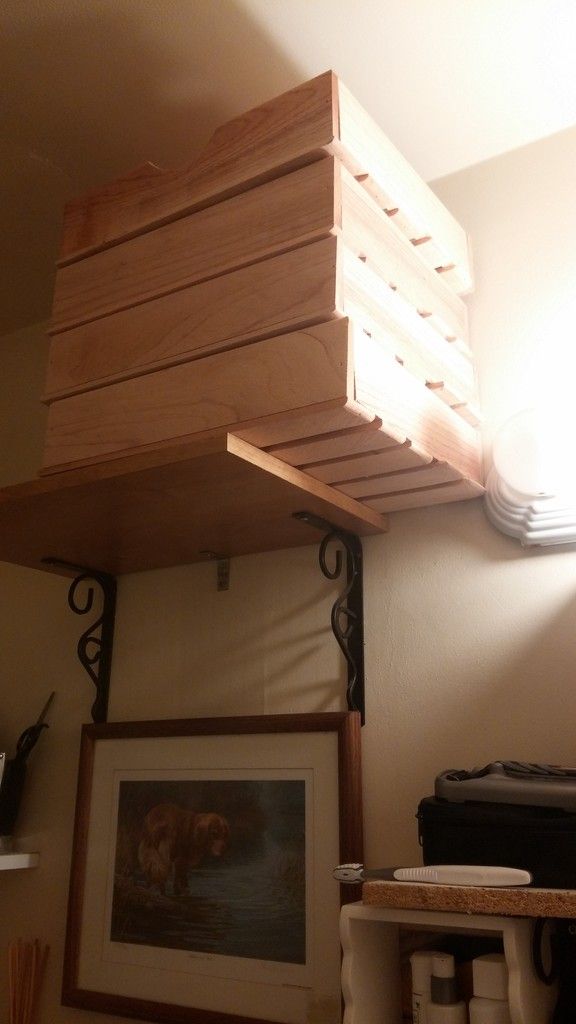
That is an odd looking picture of a cat in the bathroom thoughOnce in a while you get shown the light
In the strangest of places if you look at it right
-
Post Thanks / Like - 0 Thanks, 3 Likes
-
02-01-2017, 10:06 PM #26Cigar-Smoking Scum
- First Name
- Super Secret
- Join Date
- Feb 2015
- Location
- Philadelphia, PA
- Posts
- 854
- Ring Gauge
- 541
- Post Thanks / Like
- Mentioned
- 194 Post(s)
- Tagged
- 0 Thread(s)
lol, that's actually a print that used to hang in the bathroom at my first job. Took it when I left, now it hangs here. Originally Posted by projectsunfire

It's called "Where's that Ball?" and this is what it really looks like

-
Post Thanks / Like - 0 Thanks, 5 Likes
-
02-01-2017, 10:50 PM #27Lost no more
- First Name
- Bob
- Join Date
- Mar 2015
- Location
- Jersey Shore
- Posts
- 12,075
- Ring Gauge
- 2144
- Post Thanks / Like
- Mentioned
- 355 Post(s)
- Tagged
- 0 Thread(s)
Great job Sean now you've the fun of filling it with smokes...more pix pleeez.
Oh...best to order the next Wineador...since you have all the wood left needed to make the next set of .
-
Post Thanks / Like - 0 Thanks, 2 Likes
-
02-02-2017, 01:10 AM #28Cigar-Smoking Scum
- First Name
- Super Secret
- Join Date
- Feb 2015
- Location
- Philadelphia, PA
- Posts
- 854
- Ring Gauge
- 541
- Post Thanks / Like
- Mentioned
- 194 Post(s)
- Tagged
- 0 Thread(s)
Honestly, this is supposed to hold all of my personal stash as far as randoms (along with the humidor on top and the tiny infused humi on top of that, in the earlier pictures), so I don't think I'll end up making another. Perhaps if I had more space (another location) I could deck out my decommissioned 150qt cooler with the remaining cedar as shelving or something. That would be nice for box storage..... Originally Posted by allusred
-
Post Thanks / Like - 0 Thanks, 3 Likes
-
02-02-2017, 07:34 AM #29The Guido Squad
- First Name
- Ciro
- Join Date
- Feb 2016
- Location
- Jersey Shore
- Posts
- 2,010
- Ring Gauge
- 1148
- Post Thanks / Like
- Mentioned
- 638 Post(s)
- Tagged
- 0 Thread(s)
Those look amazing! Great Job! I'll place my order with you once I start my wineador project! LOL!
-
Post Thanks / Like - 0 Thanks, 2 Likes
-
02-02-2017, 10:45 AM #30Administrator
- First Name
- Jesse
- Join Date
- Feb 2015
- Location
- Ol' Rocky Top
- Posts
- 6,571
- Ring Gauge
- 1443
- Post Thanks / Like
- Mentioned
- 621 Post(s)
- Tagged
- 0 Thread(s)
That looks awesome!!!
"Hate, it has caused a lot of problems in the world, but has not solved one yet."
― Maya Angelou
Go Vols!
-
Post Thanks / Like - 0 Thanks, 3 Likes

 Reply With Quote


Posting Permissions
Donation System provided by vBDonate (Pro) - vBulletin Mods & Addons Copyright © 2026 DragonByte Technologies Ltd.
User Alert System provided by Advanced User Tagging (Lite) - vBulletin Mods & Addons Copyright © 2026 DragonByte Technologies Ltd.
Feedback Buttons provided by Advanced Post Thanks / Like v3.3.1 (Lite) - vBulletin Mods & Addons Copyright © 2026 DragonByte Technologies Ltd. Runs best on HiVelocity Hosting.
vBulletin Mods by vBSocial.com